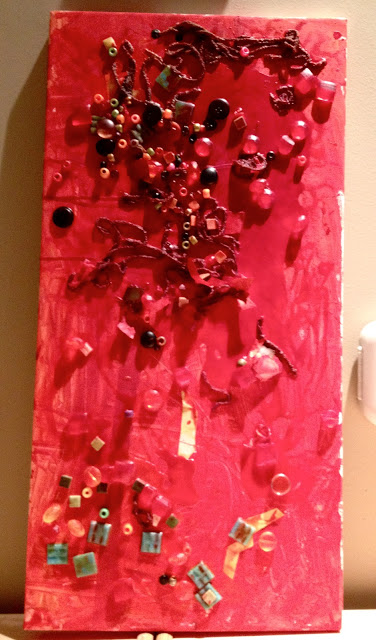
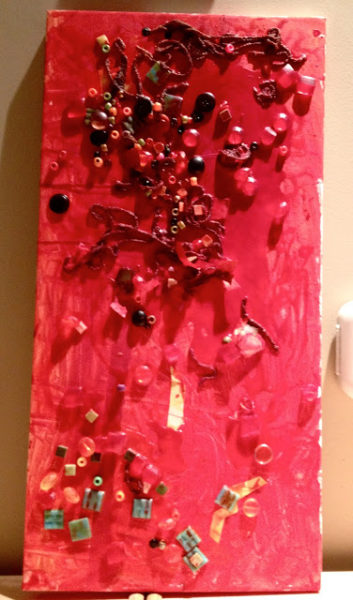
This is a very fun way to produce a process based painting.
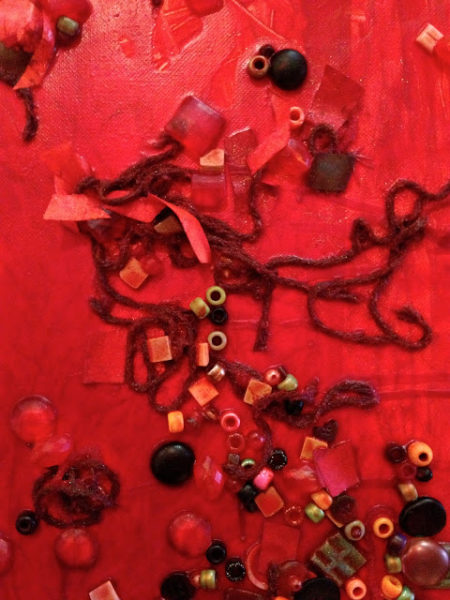
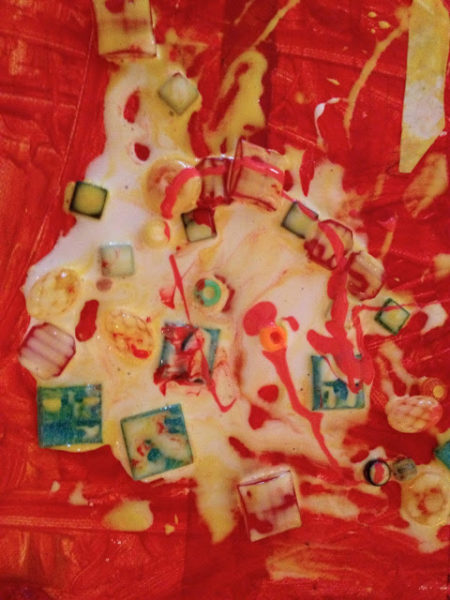
I love the texture and dimension it produces!
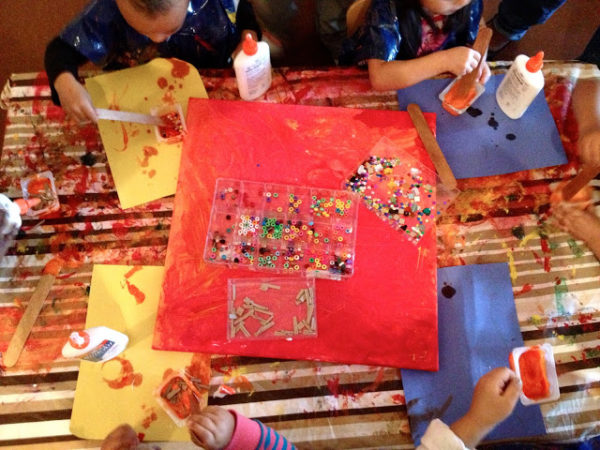
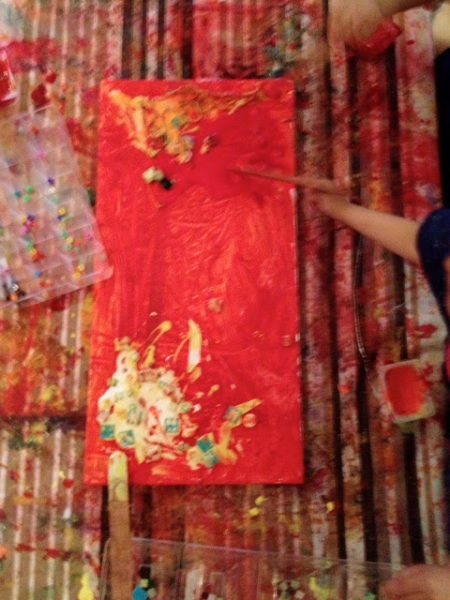
I begin with a canvas that the children have previously painted. These canvases were painted with red, yellow, and orange paints.
What you need:
- glue
- liquid watercolors or food coloring (these will keep the glue transparent as it dries)
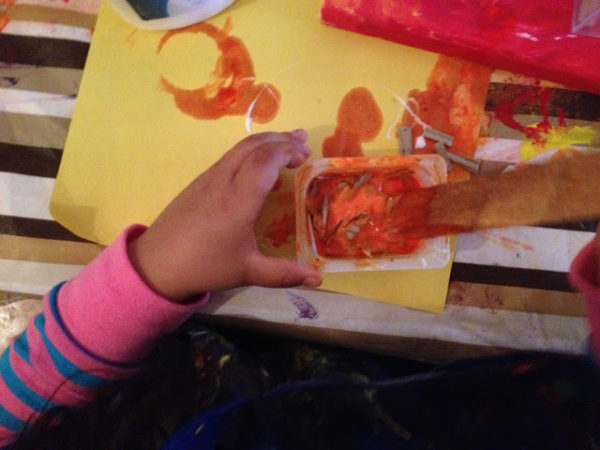
- plastic “stir pots”
- popsicle stick to stir the mixture
- assorted materials to stir into the pot (beads, yarn, little tiles, buttons, pieces of paper, etc.)
- plastic table cloth to protect your table (I buy them on sale)
The best part of this project is that the children mix up a brew of paint, glue and stuff. I let the children squeeze their glue into the pot, I let them squeeze the paint, and add whatever they want from the buffet of materials. Ooo so fun!!
The children LOVE making their own concoctions. Pure bliss.
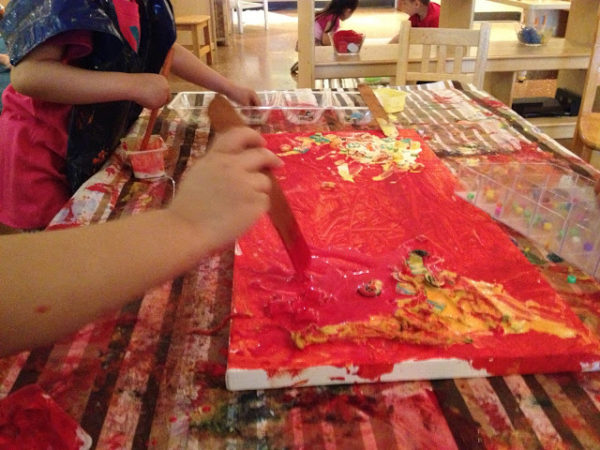
When the pot is ready – it is dumped onto the canvas.
The mixtures are drizzled, dumped, swirled and applied in all sorts of ways. It was so interesting to see one of my students discover how she could create swirls of orange on top of the yellow. Another student added a bit of water to his mixture to see how it changed his mixture.
Let the painting dry flat. It will take up to three days.

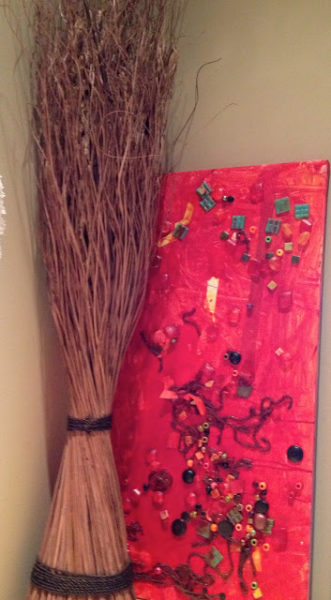


Wow! you can’t get more “process” over product than this activity
And the children loved, loved loved the process.
What kind of paint did you use to paint
the canvas?
OH my goodness… I love this… what a wonderful collaborative project this will be!!! It’s time for me to refresh my color “posters” in my room, and now I know what I am going to do. Time to buy some canvas board and check out my supply of white glue. I wish I could do this tomorrow, but it will have to wait a few days. 😀
Erin! Yes! It is absolutely a wonderful collaborative project.
This is absolutely stunning. I love it!
Wishing you a lovely week!
xoxo
Thank you Jennifer!
Very Cool! What kind of canvas did you use?
Lyn
I used two old canvases in my personal stock (as a painter) but you can grab them cheap at Michael’s with a 40% off coupon. I used regular canvases.
You can also buy a gallon of Gesso and “paint” over old canvases with the Gesso. It’s white and provides a completely new canvas almost for free. If the canvas was previously painted with oils there will also be a delightful texture that is under the Gesso. I get most of my canvasses free from garage sales. Some of them even have fancy frames!
“The children LOVE making their own concoctions.” This is so very true. Oh the process of creating art : )
This is such a wonderful project with endless possibilities. I also like the monochromatic background. It makes the details of the collage pop. Thanks for sharing!!!
Thanks Sally, We have never do be this on canvas, just paper or cardboard. I can just imagine how much easier it is to hang with a canvas! liz
Lovely idea, must first try it out myself.I am sure children will love it
Oh Sally,
You always save my soul when I need it. We have been spending sooo much time on assessments for the fall deadlines, I needed something just plain fun for the kids and their own little souls……
and here you are! We are going to do this Tomorrow!!!! I’m really putting a lot of time into Seasons this year so we will do our 4 Seasons Art for the wall like this project!!!! Thank you again for always renewing me…
Lisa
Yay! You made my day!
I heart this! So glad to see there are still teachers who educate the whole child!
Lisa Michael
I love how the end result looks and how easy it is to become artists while enjoy mixing textures all at the same time.
Thanks for the great inspiration,
Gayle Forrester
Oh this is fabulous!! I can’t wait to try this and watch what amazing art pieces they create! It is a great project to use all the scrap materials! You have started the wheels….Thanks…must get up to the studio & start digging!!!
?
Elisa
Wow, amazing Sally. I will try that with my kiddies
This is magic!
Hi Sally,
I’m a little confused. So do the children put the same color paint in with the glue that they used on the canvas? It seems to match!
Thanks!
Lenae
Lenae, children can explore the paint and glue however they wish. Some might put the same color paint/glue mixture and some might mix it up! The paint/glue has a transparent quality, so the color might be quite light.
Hi! Did you use paint or liquid water color? If both, at what step in the process? Thank you.
“That’s a good question! I used paint – cheap acrylic from Craft store. The children would squeeze into their cup of glue. I have used watercolors as well. Both work well. Here’s another blog post you can view with instructions: https://fairydustteaching.com/2014/04/let-it-go-frozen/
You can also use liquid tempera paints. Grated chalk works as well. I’ve even used food coloring! It works better if you put the paint (or grated chalk) in the container before the glue. But the most important part is that the child gets to decide. When I first started with process art with my 3-5 year olds ten years ago I curated their experience much more than I do now. Because they get to do process art every day in my class they soon get good at collaboration and sharing strategies for making the mixture more gluey or the colors more intense—-all without my saying a word!
I love this idea; thanks, Sally.
A really great idea
I have seen this type of art project in one child development center some time ago and I admired it because it looked so impressive, beautiful, pure art it is I thought. I am going to do it with my kids this month. Thanks for the inspiration, I absolutely adore it!
It is amazing to see such artistic and wonderful work done by children!
Thanks for sharing
I have a question. Is there paint in the pot when the kids are mixing up their concoction? It says you let them squeeze in their own paint, but is that referring to the food coloring? Also is it needed if it is going to dry clear anyway?
Thanks for this great project!