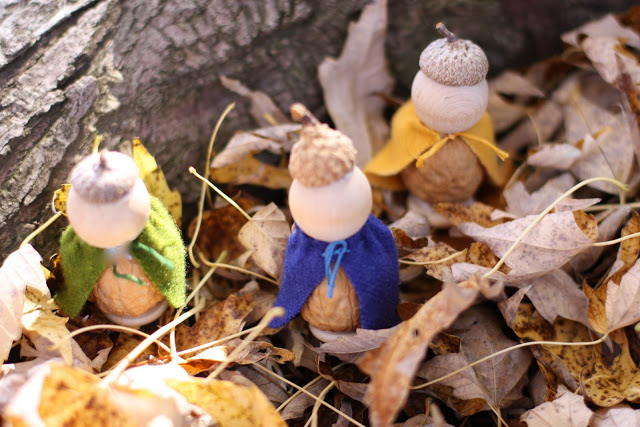
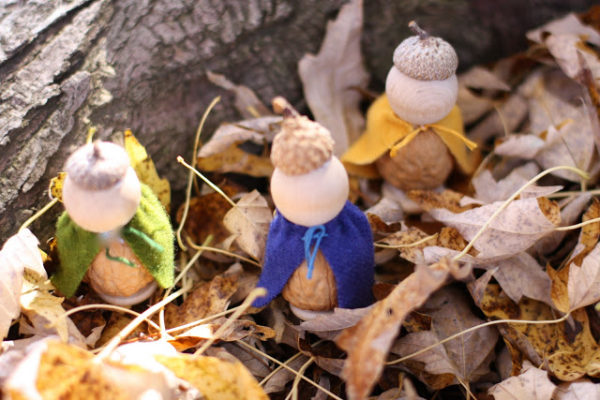
I first saw these sweet tiny folks in a Waldorf classroom. They are super easy to make and provide wonderful play for a crisp Autumn day!
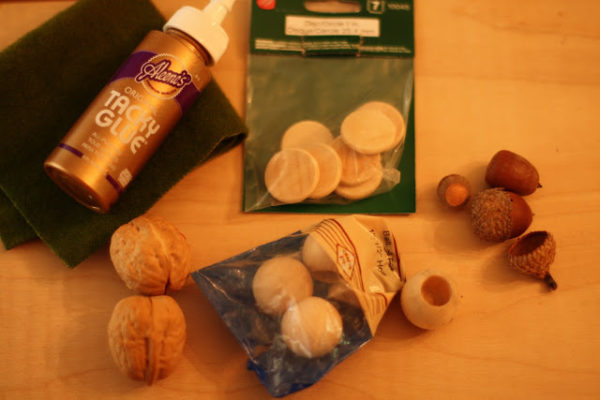
You will need the following supplies: a strong tacky glue, walnuts, acorn caps, 1 inch wooden balls with an 1/2 inch hole (I used what I had on hand but it is nice to pick a wooden ball in relationship to the walnuts you are using), 1 inch wooden discs and scrap pieces of woolen cloth (I used clothing from a thrift store).
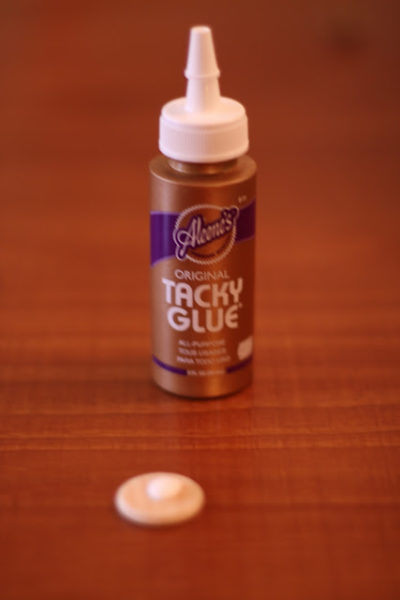
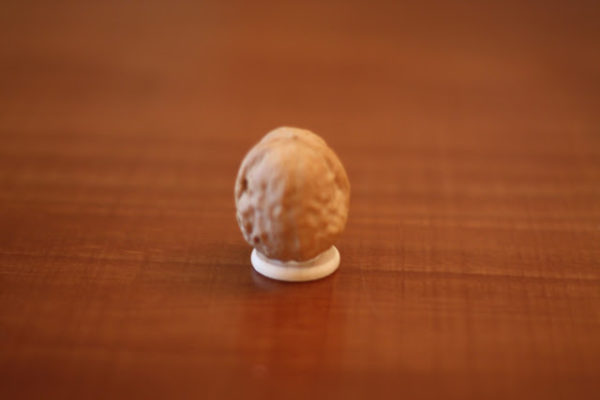
Step One: Squeeze a dollop of glue on a wooden disc.
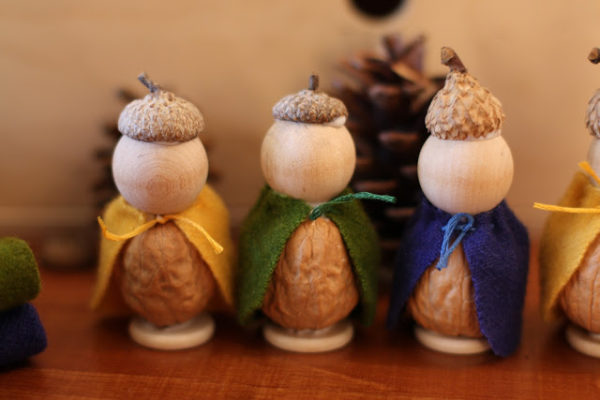
Step Two: Place a walnut on the disc so that it sets securely. This is the plump body!
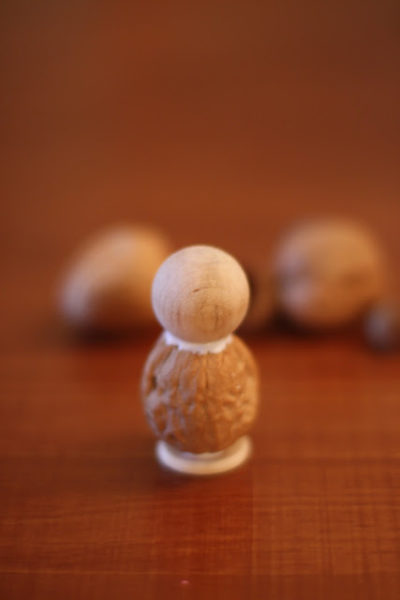
Step Three: Apply glue to the edge of the wooden ball and set on top of the walnut.
This is the head.
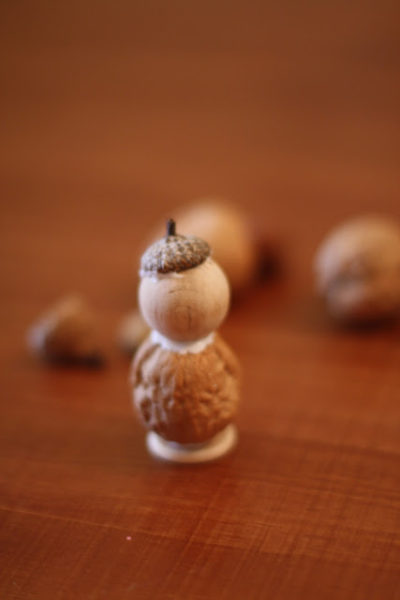
Step Four: Pick out an acorn cap and apply glue to the outer rim of the cap.
Place on top of the wooden ball as the hat.
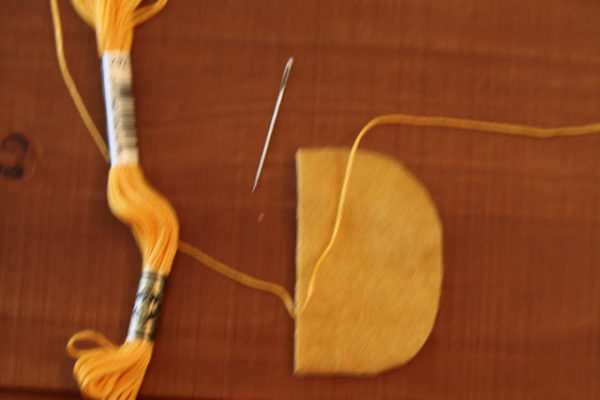
Step Five: Cut out a small rectangle of cloth.
Hold it up to the walnut figure to estimate size. I like to round the corners.
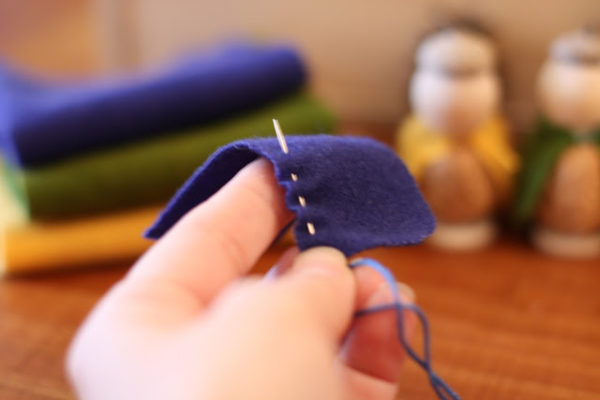
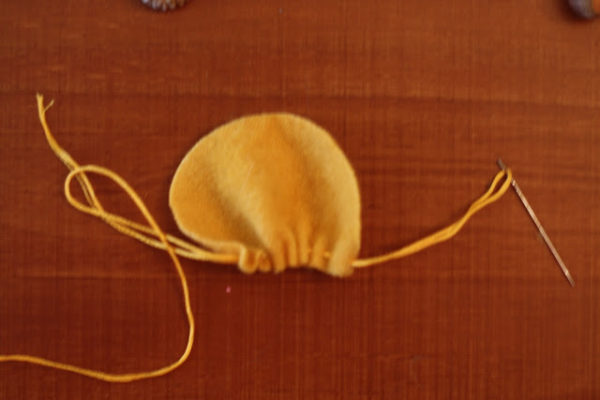
Step Six: Using a running stitch, gather the cloth.
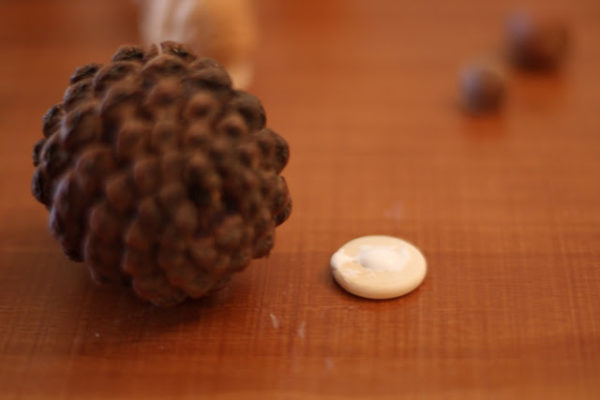
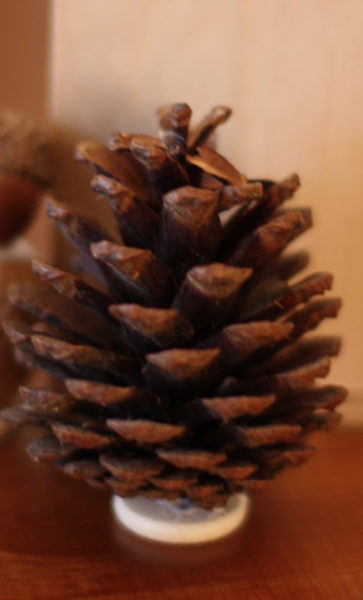
Step Seven: Tie thread around the neck of the walnut figure. It is simple to make trees by gluing pine cones to a wooden disc. Look for pine cones with a flat bottom.
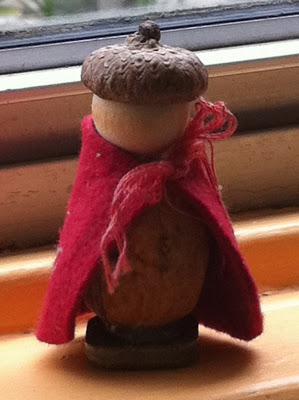
Here's a little fellow with a cape that is not gathered. Have fun!



these are adorable! Thanks for the directions. Looking forward to having your blog as a resource.
These are fantastic! I love them! Thank you for sharing!
I love Waldorf inspired things – they are always so simple but enchanting!
Sally you are the best thing that has happened to my teaching career in quite some time I thank the Fairies for you :)!
Thank you! Big hugs!
Thank you!!
Beautiful idea!! I was thinking about peg dolls but these little nut people would be perfect with Autumn nature interests currently happening in class. Thank you!
I can’t wait to try these in the classroom!
These little people are awesome, they will become a welcome addition to my natural experience environment, and the children will love making them. Thank you for more wonderful ideas.
We are going to make some little people with pine cones today. We will add them to our story garden, it’s a combination of your story table and the fairy doll house. Thanks for your ideas. I love them.
What a fun idea! Making characters out of natural materials will really engage the children.
Could you send me pictures of your story table/garden?
Lindas imagens! Adoro fazer presépios em miniatura com materiais recicláveis.Estas imagens servirão de modelo para a Maria e o José…Agradecida pelas ideias.?
I love your ideas, it’s inspiring, I will try it in my classroom. I won’t be able to use the walnuts ( free nuts policy) I will use small pine cones instead.
Thank you so much.
What a great idea! There is so much you can do with things found in nature!
Any suggestions for a nut free version?
Nezha had a great idea using pinecones! Any natural material will work and be just beautiful! Anyone else have ideas?
Love this idea.Maybe an avocado seed instead of a nut, for allergic cases?
I love this idea. I am new to your blog and I can say your ideas are new and refreshing. I was thinking of using some river rocks for the body. My children are really into investigating stones at the moment. Thank you for this storytelling idea.
River rocks would be beautiful for the body and it sounds like you are following the children’s interests. Lovely!
As usual Sally you are sharing a beautiful material that is introduced in such a charming open ended way that inspires your students to enter into the world of enchantment. I have created similar “props,” and introduced them in a similar way and watched both “tough,” children and TEACHERS……. melt as they connected with this amazing world of make believe. You can take these dolls anywhere and use them as extensions for any type of lesson that you want.
Life can be very difficult at times for both young and mature alike, these little guys can take us to beautiful places when reality becomes a bit to much and quite honestly keep faith and hope alive during personal setbacks. You are a treasure!
This is great. Thank you.
This is so interesting. Can you tell me more about Waldorf education? What practical book we should read to know more about it? I love all your ideas.
Great question! I would go to Bob and Nancy’s online bookstore and peek around. They have a huge number of great books to begin your journey!
Love the story telling during group time then leaving the props in a quiet area.
cordial greetings from chile beautiful experiences and thanks for sharing your love for the children of the world.
Thank you Angelica! It gives us grate pleasure to know that we are able to help and inspire across the world.
The acorn people are a great idea, especially since we are a nut free building.
Hello,
Our school has many children with nut allergies. Can you suggest other nature items to make a “nature person.”
Hello Sonia,
Pine cones and rocks are always a good idea, you can use rocks and you are ready to go.
Hope this helps you.
I know it’s not natural but wine corks would work well and are made from trees.
Love your ideas so much!!! Thanks for your sharing!
Thank you for your inspirational ideas in bringing nature into the classroom. I’m already feeling the calm that this will instill in the children. 🙂
Very cute thanks for sharing
Love it! Thanks for sharing!
You are just amazing! I’m absolutely loving this treasure trove! Thanks so much.
Your ideas are always so fascinating and amazing! Thanks for sharing!
Hi all,
It is not natural, but for allergies (and acorns are tree nuts, we are not allowed to use them and they often have bugs- throw them in a bucket of water overnight), if you can use food, maybe make pasta people. Rigatoni body, wood bead head, elbow arms, bowtie wings, and acini di pepe for hair. I have used hot glue in the past to make angel ornaments at Christmas, but the glue makes them fragile. Any good ideas about a quick-dry sturdy glue that could be used so the kids could paint their “fairies” later?
Yes!! Storytelling with natural materials is AWESOME! But, adding the 3 parts (problem, trying to resolve and resolution) is such a GREAT idea! Especially for teachers like me, who were finding it hard to think of stories to tell. Thinking of the 3 parts alone is making my mind think of so many ideas! And, to incorporate social emotional development and examples really helps provide a skeleton to storytelling 🙂