One of the most important elements of Reggio-Inspired teaching is documentation. From experience, I know this can be one of the most intimidating pieces to implement.
I want to share one example of a documentation panel I created along with my students in a first grade classroom.
I want to share how I simplified this documentation to make it doable in an urban public school setting with time crunches and limited budget. Uber important!
Why Documentation?
Documentation, when done right, is a powerful tool to showcase the students' thinking through recording the process of how their thinking evolves through experiences and discussions. Documentation can also be used as an assessment tool!
Types of Documentation?
There are several types of documentation. These are some that I have used in my classrooms:
- Portfolios
- Photos
- Students' Work Artifacts
- Running Records/Anecdotal Notes
- Today We's
- Documentation Panels
This documentation panel was created with the help of my first grade students.
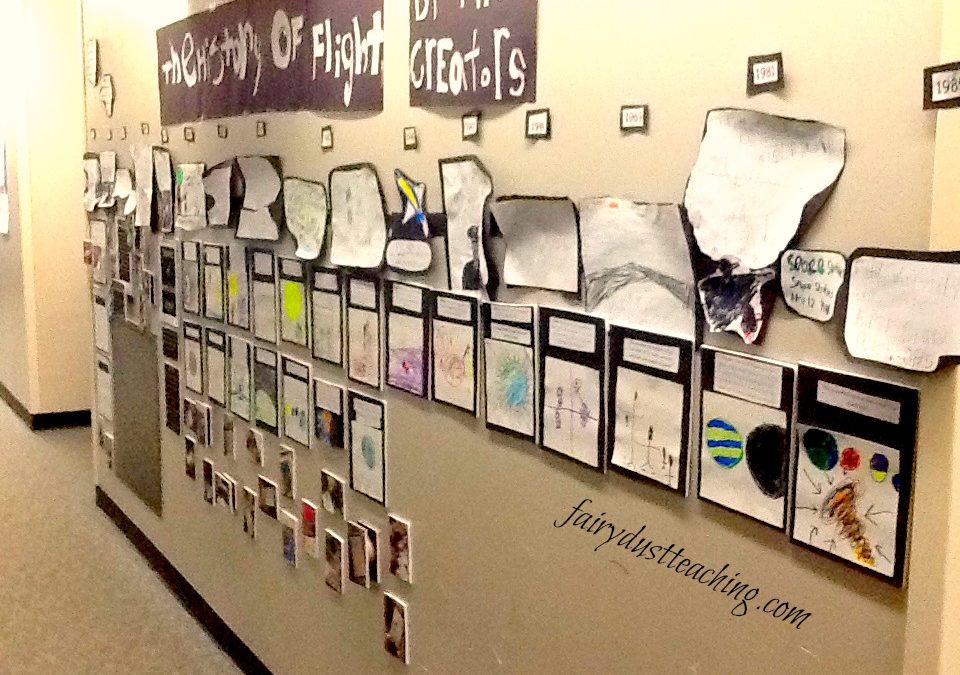
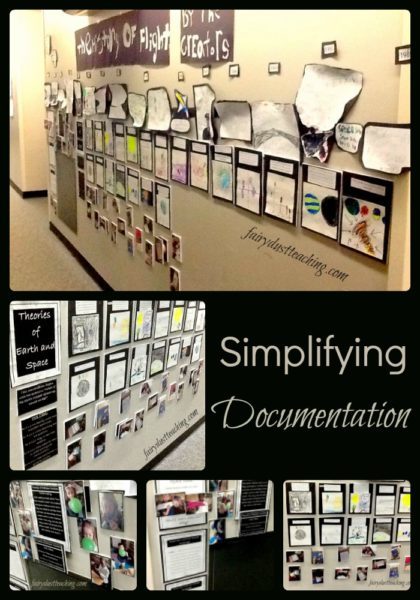
There are several components of our inquiry documented in this panel: The History of Flight Timeline, Theories of Balloon Rockets, Theories of Earth and Space, and pictures that were taken throughout our study.
Let's take a closer look at each of these.
The Timeline
We had just wrapped up an inquiry of flight and brainstormed ways we could show the rest of the school what we had learned. A timeline was the class vote winner. We created the timeline using white copy paper and black construction paper.
Each child chose what part of the flight history they wanted to document. They illustrated this and wrote a short description. They then recorded the year it happened.
I had the students mount and cut out their piece onto the construction paper. When everyone was finished, we came together as a class to put the documentation pieces in order from earliest to most recent. We then went into the hallway and placed it on the wall with tape.
I had early finishers create the label pieces.
Through this timeline creation, I was able to assess: the students' understanding of timelines, their ability to use research tools to find information, and their understanding of what we had learned in our inquiry.
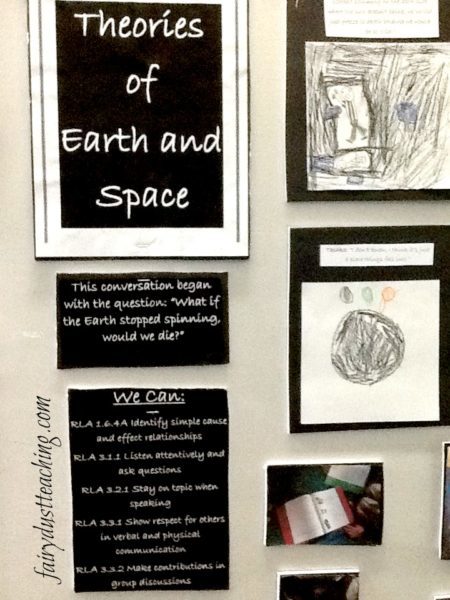
Theories of Earth and Space
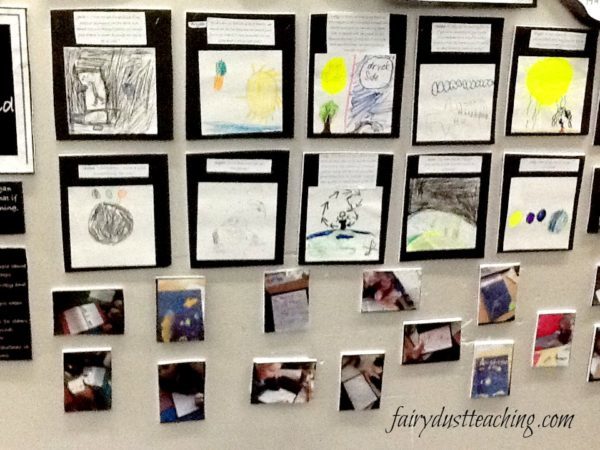
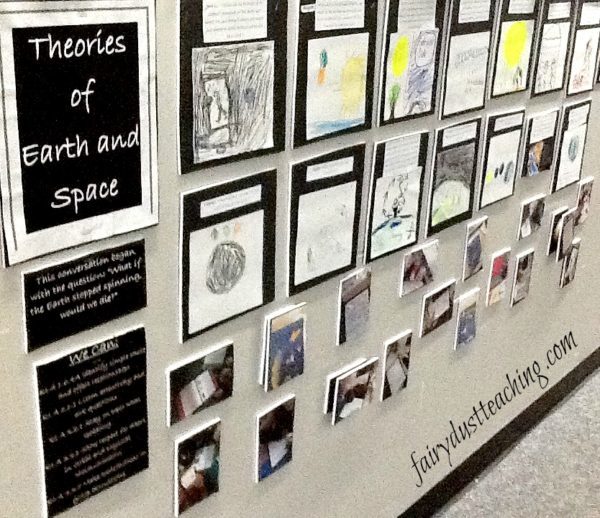
What you see below the timeline is documentation of a class discussion that began when one student asked, “What if the Earth stopped spinning, would we die?” ~we studied space as part of our flight inquiry when some of the students found a deep interest in space shuttles.
I wrote the conversation down as the children spoke.
Afterward, I read the discussion back to the students. Then each child illustrated a picture of their contribution to the discussion to help others visualize their thinking that accompanied their comment or question. These were then mounted to black poster board, but could just as easily have been mounted to construction paper.
I think the poster board makes the pieces stand out more and creates a nicer look.
3D Pictures
At the very bottom of the panel are pictures that I took throughout our flight inquiry. I mounted the pictures onto black poster board that I purchased at the local Dollar Tree. I also hot glued bottle caps and old ribbon spools to the back of some of them to add depth to the pictures.
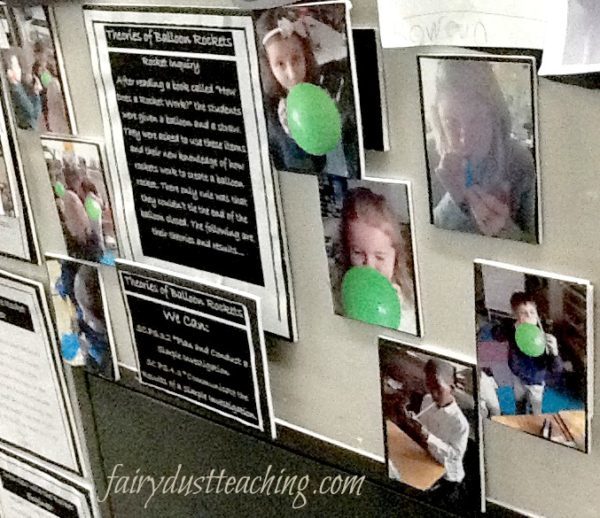
Theories of Balloon Rockets
For this piece of the documentation panel, the students participated in a Balloon Rocket Race. I recorded their predictions of what would happen and why they thought this. We then created our balloon rockets and had a race. After the race, I recorded the students' new understanding of the rockets.
This type of documentation can show how the students' understanding evolves through the Scientific Method. *An important note when teaching in a public school setting is to add the standards met on the documentation panel.
Through this documentation panel I was able to show the students' learning, thinking, and display their creativity.
My Investment
Honestly, it cost about $4 out of my pocket to make this documentation panel. Since the students helped with the majority of it, I saved oodles of time.
All-in-all, I invested about 30 minutes after school for a few days to type up theories and standards and cut and mount the pictures. Another important note is this panel evolved over the course of a couple of weeks. I simply added each component as we finished it.
Student Investment
Since the students helped with the panel, they were so excited to show it to their families at drop off and pick up. I truly believe in the power of allowing the students ownership over documentation.
How do you document students' learning?
What ways do you involve the students in the documentation process?
If you found this post helpful, you will love Fairy Dust Teaching's 2017 Summer Conference!



We are starting to embark on Reggio inspired projects and I really enjoyed the documentation ideas!
We can never have enough information about documentation.
I love how you honoured children and their contribution of mounting their own work.
I sometimes wonder if a child’s work has been displayed as they would like it; there’s no doubt here.
Loving all the ideas. Will really help in the nursery.
For me there are elements of pedagogical documentation missing here. The first is dialogue with ‘others’ .Whilst there is lovely interaction with the children there is none with colleagues or parents and so the reciprocity of ideas is limited. Pedagogical documentation is about re-visiting and re-framing the ideas of the children and facilitating their learning and realising that our suppositions on where the learning may take them are not always correct and often need revision.I understand the restrictions of working within the demands of a syllabus particularly with other older children but this for me is more about the display of completed work as opposed to a ‘work in progress’.