Here are very simple instructions for children to draw a King and a Queen.
Step One: We begin with the Queen. Begin with a horizon line at bottom of page. Draw a “U” shape for the face.
Step Two: Draw a straight line across the top of the U. Draw a zigzag line to make crown. Add details like circles on top of crown tips.
FACE: Draw two curved lines for eyebrows, dots for eyes, and long curved line for mouth.
Step Three: To draw cape, bring curving lines from face to horizon line on both sides. Add second curving line to make inside line of cape.
Step Four: Add hair to Queen. You can make a collar by drawing a lower case w shape.
Step Five: Add lower edge of dress with curvy line. Add details like pattern on cape edge.
Step Six: Draw shoes using U shape. Add fold lines of dress if you like. Queens love beautiful necklaces. We drew a sun necklace.
Step Seven: Draw a King in the same way – U-shape for face, add crown, and draw ears instead of hair.
Step Eight: Add cape details to King. We drew a rectangle shape for his shirt and another rectangle shape for pants with line down the middle. Draw u shape shoes.
Step Nine: Draw a medal for the King (necklace). We did a circle shape.

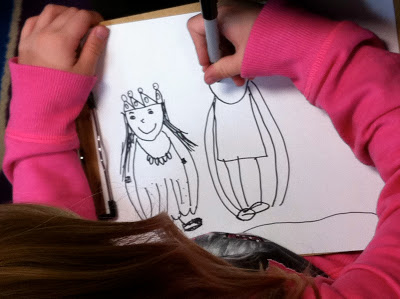

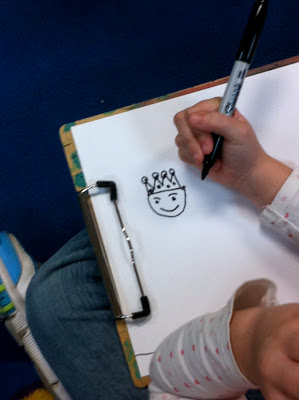
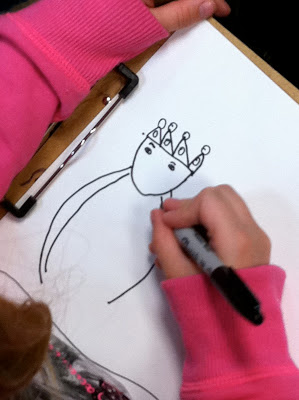
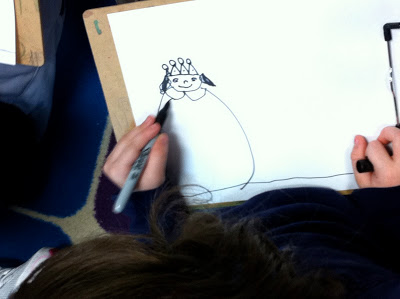

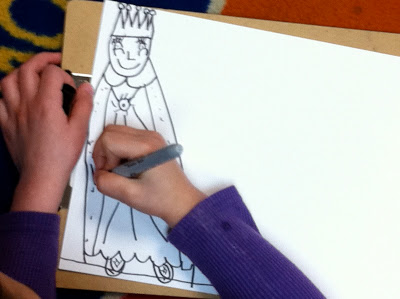
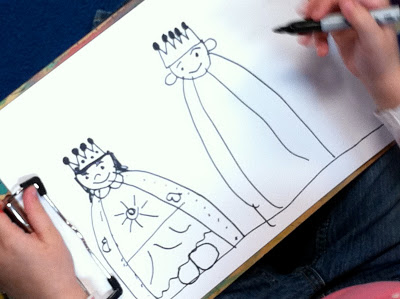
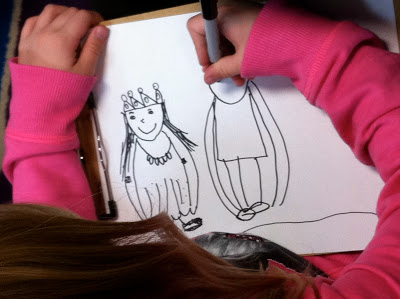
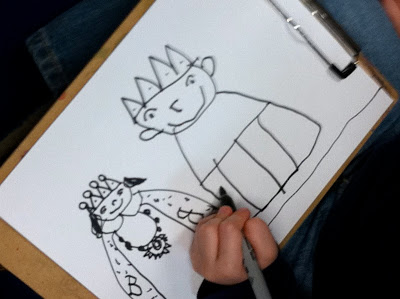
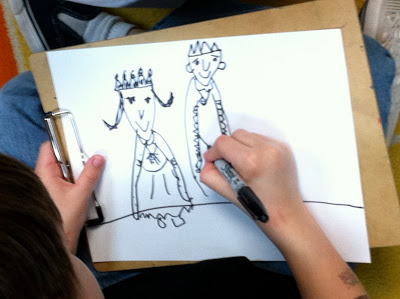
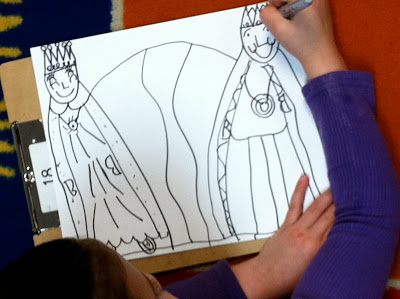


I love, love, love all of those queens and kings! They all have such wonderful personalities shining through!
i have, fairly, recently found your blog and love it! i especially love your drawing tips. my 5 yr old loves to draw and i think he will really enjoy drawing these. thx!
Kristalyn, I am so excited for you and your son. I still remember drawing with my children when they were 5 years old. Drawing is probably one of the most beneficial activities for a five year old – it builds so much – eye/hand coordination, spatial understanding, fine motor, observation and attention to detail. Thank you for your comment!!
Sally