
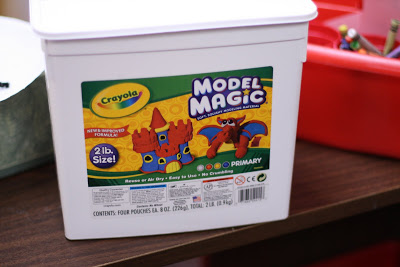
This is one of those all time favorite projects of the children. Each child designs their own insect using model magic. I buy it at Michael's with a 40 percent off coupon. I give each child a bit of each of the four colors. A box like the one in the photo will supply a class of 25.
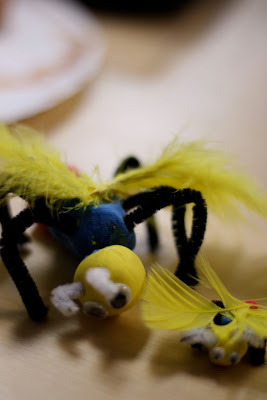
I provide a tray of materials such as googly eyes, pipe cleaners, beads, jewels, and feathers. I tell them that it has to have a head, thorax and abdomen. The rest is up for grabs. After they completed their insect, I had the children write about it. What is your insect called? Where is its habitat?
STEP ONE: Form the three main body parts.
Designing an Insect from Fairy Dust Teaching on Vimeo.
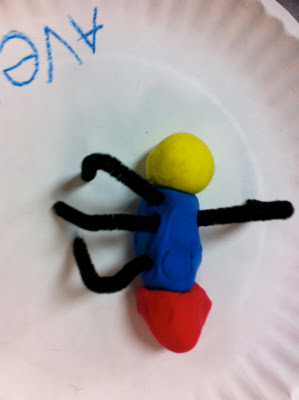
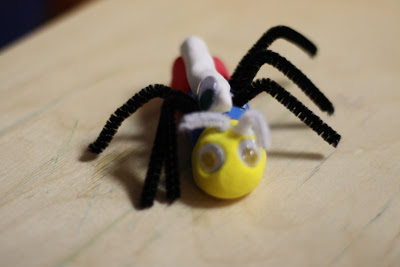
STEP TWO: Add six legs into the thorax.
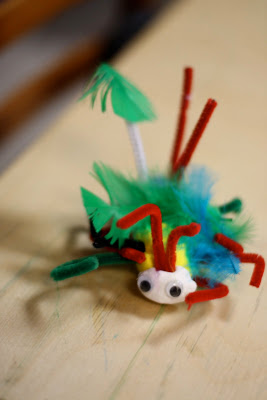
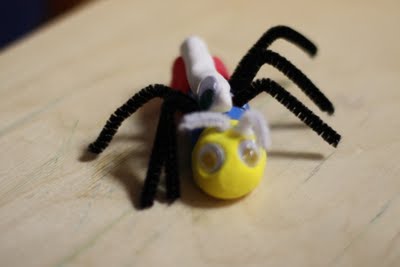
STEP THREE: Add eyes. Continue to design to your liking – antennae? pinchers? wings?
Make sure the students add tacky glue to anything they attach to the insect. Let the insect dry overnight.
Designing an Insect – Adding Details from Fairy Dust Teaching on Vimeo.
One child created a baby insect.
Notice the little baby on this insect's back.
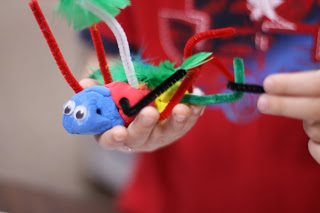
Another leg!
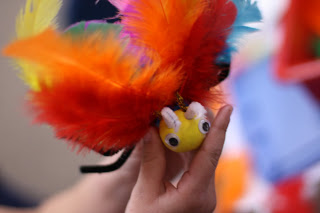
Insect is taking a test flight!


What a wonderful idea. I really love your insect unit. My daughter had an insect unit just this week (she is in preschool), and it was not nearly as exciting 🙂
What an amazing post! I’m adding it to my plans RIGHT now! Thank you for sharing.
Mrs. Wills Kindergarten
These are adorable!! I love Model Magic! We made Model Magic monsters this fall and snowmen this winter.
Jonelle
A Place Called Kindergarten