There are three basic 3-dimensional techniques to have in your teaching toolbox. These three habitat basics can be used to have children demonstrate their understandings of current science studies or character settings. Over the next week, I am going to share how to make these habitats. On Friday I will cover how they can fulfil Common Core Standards. Stay tuned for a rocking week!
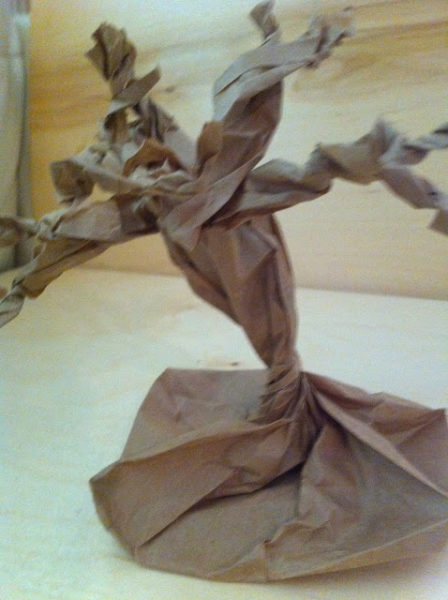
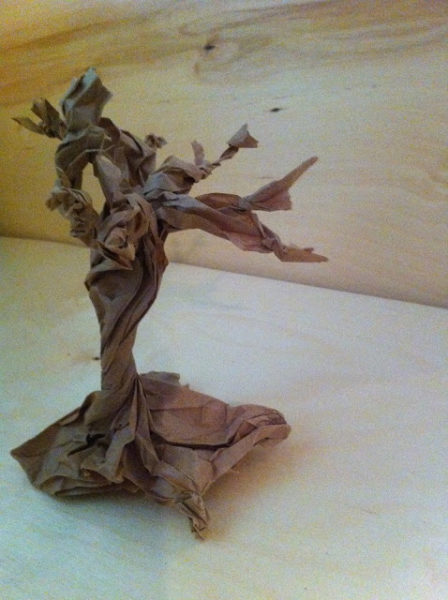
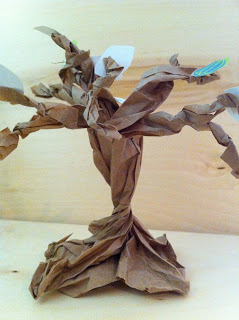
Today I am going to show you how to make a basic paper bag tree.
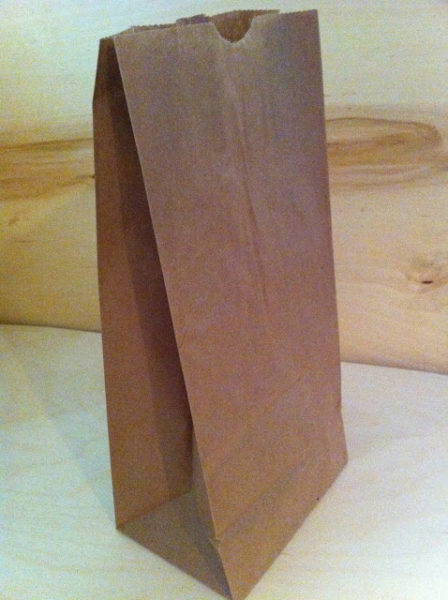
Begin with an open bag. I glue it down on a paper plate for kindergarten. Older grades will not need this support.
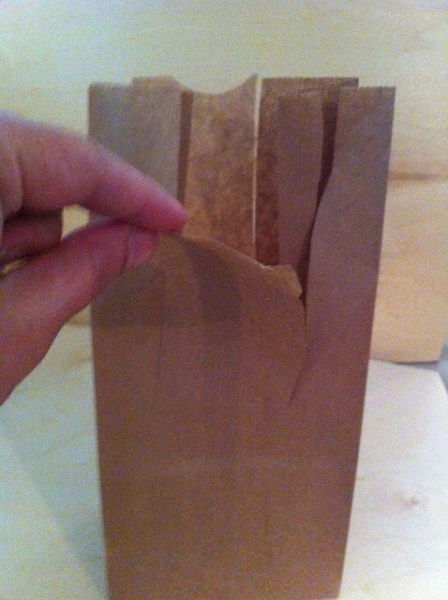
Have the children cut half way down the bag to make the branches. Tell the children to use their pinkies to measure how far apart to make the cuts.
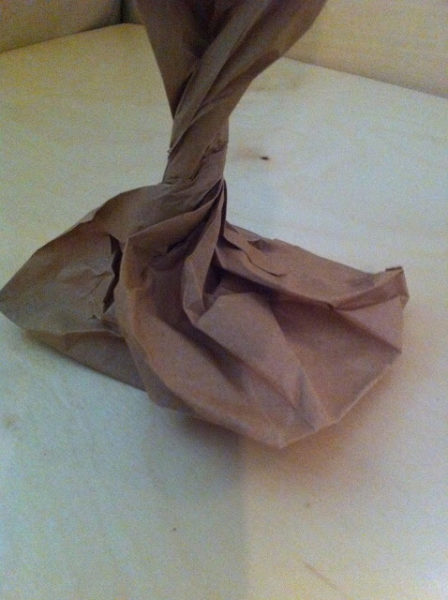
Next, twist the bottom of the bag to form the trunk.
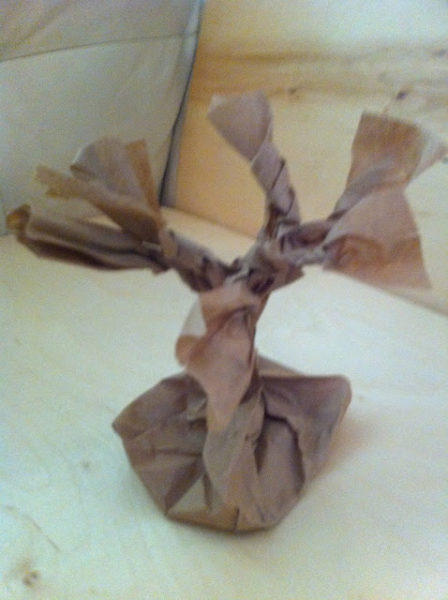
Twist each branch. Older children can stop just before the end and cut the end into two more branches.
Twist those two ends on each branch.
Older grades, twist the bottom corners for roots.
Glue to paper plate or other surface to begin creating habitat.
Go ahead and grab a brown bag and try to make one! If you have any questions – let me know because you will not want to miss tomorrow when I will show you how to make the four seasons with these trees!
Tuesday I will show you how to make animal habitats in these trees.
Oh, how the possibilities are endless!!!!!



What a quick and easy craft! I think we might use this idea to make our family trees at the beginning of the year! Thanks for the inspiration!
NotJustChild’sPlay
Oooo, I love that idea!
Sally,
“Trees” is our first big science unit and I was wondering what I could add to make it even better. Hurray for you! I love this idea and am excited about your future posts on this same topic!!!!
Camille
An Open Door
Girlfriend, hold on cause this tree can be simply AMAZING in it’s potential. And so perfect for your unit.
Thank you, I love your ideas. Where do you get all your energy! Louise
I just love your spirit. Thanks for sharing your fairy dust teaching enthusiasm! Your blogs generosity and inspiration is rare to find.
Love,
Fernanda
thanks for sharing.
What a fantastic idea! Thank you…this will be going in my art center.