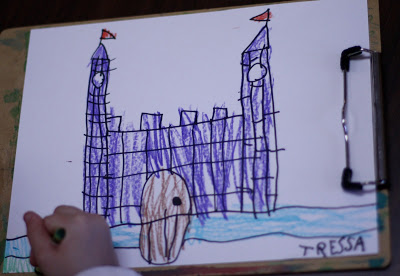
There is something about drawing a castle that really touches a deep place in the hearts of children. When I taught four year olds – they loved it as much as the kindergarteners. Something about it. Another important point is it is super easy. Here are the simple steps to drawing a castle:
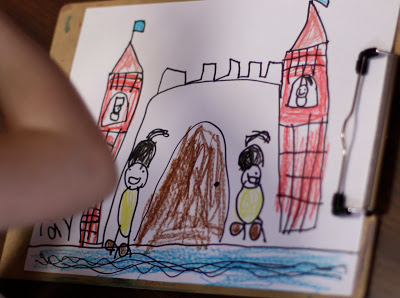
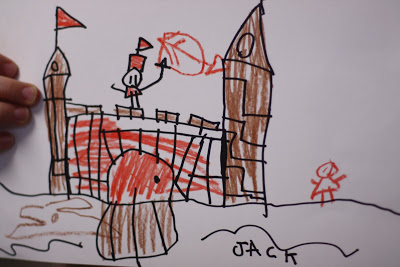
I loved how this student added the knights. So adorable!
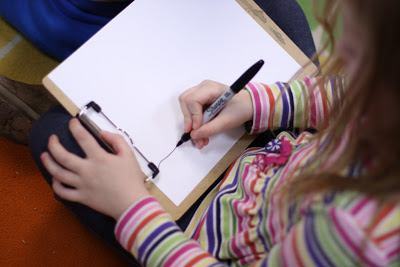
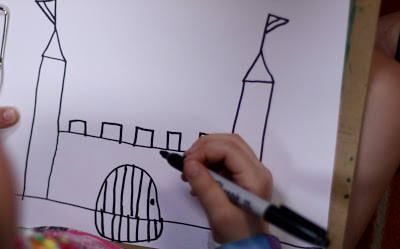
Step One: Place the paper in the landscape position. Draw an horizon line near the bottom of the paper.
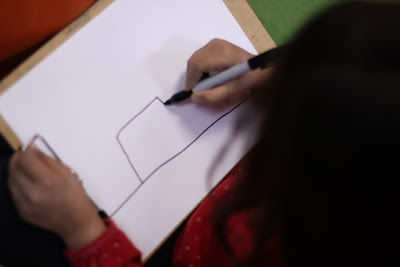
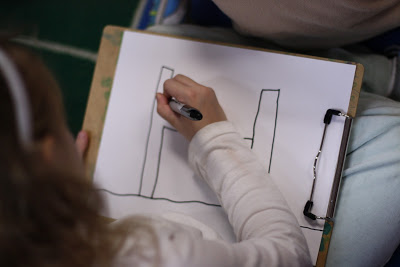
Step Two: Draw a square in the middle of the horizon line (and on top of it!).
Step Three: Draw a tall, thin rectangle on one side of the square.
Step Four: Draw another tall, thin rectangle on the other side of the square.
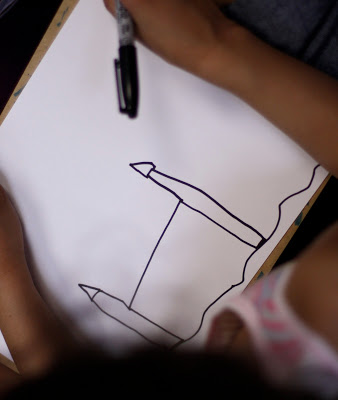
Step Five: Draw a triangle on top of the two tall rectangles.
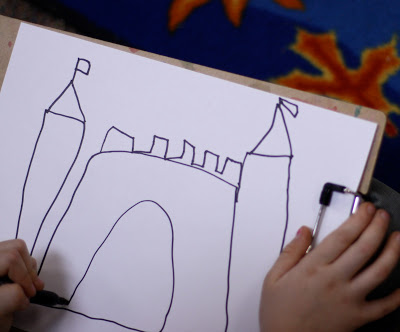
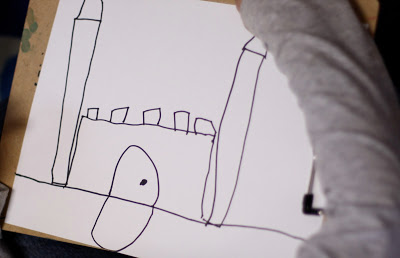
Step Six: Draw small squares across the top of the square. Add flags on top of the triangles on the tall rectangles (triangles on their sides). Draw a curved line (upside down U) to make the door.
Step Seven: Add a door knob (circle). And a draw bridge if you wish (a U shape).
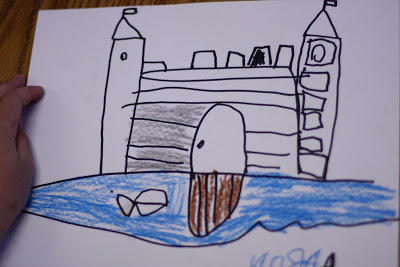
Step Eight: Add any details you might like – such as wood grain, windows, texture on the castle, water around the castle and so forth.
Step Nine: Color with crayons!
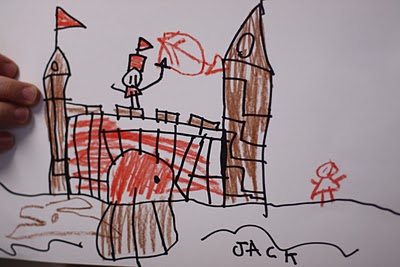
I love how the draw bridge reaches out and the textures on the castle!
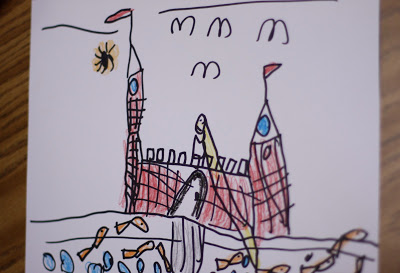
The princess and her cascading hair! It goes right into the water!



Everything you do is magical.
Thank you, Phyllis. 🙂
Love this! Going to try with my D.
I think I drew this back in kindergarten at creative arts charter school.
I found this picture on the internet while looking for how to do castle drawing. What a coincidence!