
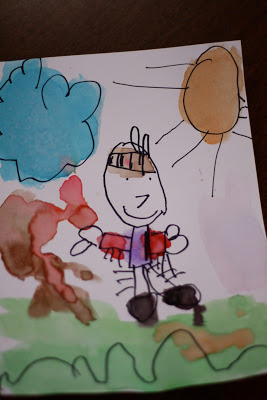
One of my favorite things to do with children is teach them how to draw. I begin by taking them through the process step by step. I use basic shapes and lines. I do one part and then they do it – following my demonstration. While everyone is doing the same drawing – each one turns out very unique and individual. It reinforces shape vocabulary, elements of art, fine motor development and spatial relationships to name a few. This drawing lesson was built around a story I have been telling the class about a Native American boy named Two Feathers.
Materials: Sharpies, cardstock (or watercolor paper) and watercolor paints. I introduce the use of sharpies in a small group setting so that I can teach proper use.
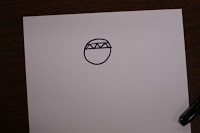
Draw a circle for the head. Add two straight lines for the headband.
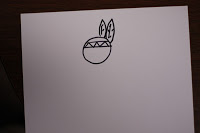
Make two feathers by making a “pointy” oval!
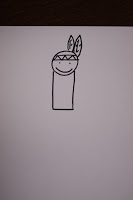
Add two eyes and a mouth.
Draw a rectangle for his buckskin jacket.
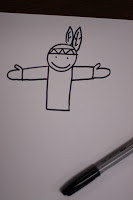
Draw two smaller rectangles for the sleeves. Add hands.
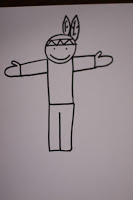
Draw a rectangle for the buckskin pants. Add a straight line.
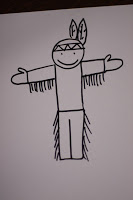
Using straight lines, make the fringe for the buckskin jacket and pants.
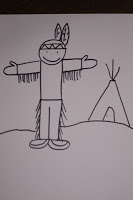
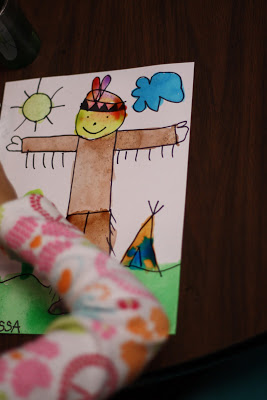
Draw two ovals for the moccasins. Add the horizon line.
Draw a Native American home, sun, any details you would like.
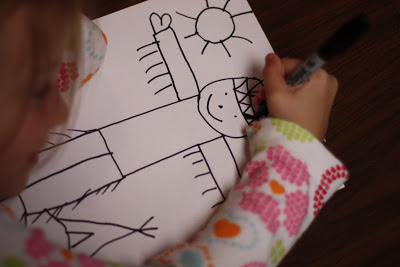 |
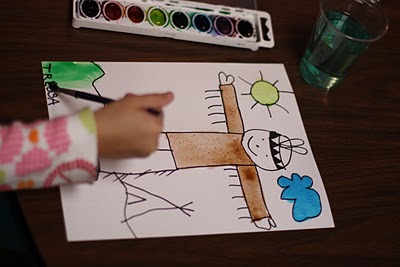
| Student adding details to drawing. |
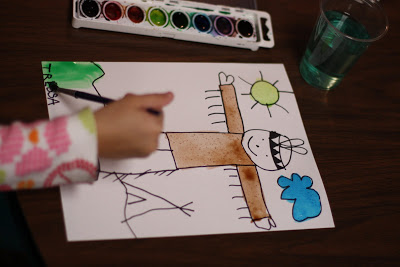
The final step is to watercolor the picture. Using sharpies allows for this final step.


Is there an actual book about “Two Feathers”????
No. It is a story handed down to me from my father. A little tale inspired by my native American roots.